Software (JS)

The JavaScript CameraApp (CameraApp-JS) is written in TypeScript, a JavaScript superset with a static typing. The project uses NPM to manage dependencies. A pre-built version of the web application is included in the Camera-ExampleDesign-vX.Y GitHub Release archive and it consists of HTML, CSS, JavaScript, and other assets required to complete the web application in a machine friendly format. Verify that your hardware setup is supported by the JavaScript CameraApp application seeing the compatibility matrix in the Release Notes.
The application can either be used locally on a single machine by opening the index.html file in a browser or served by any static hosting service that supports serving these assets.
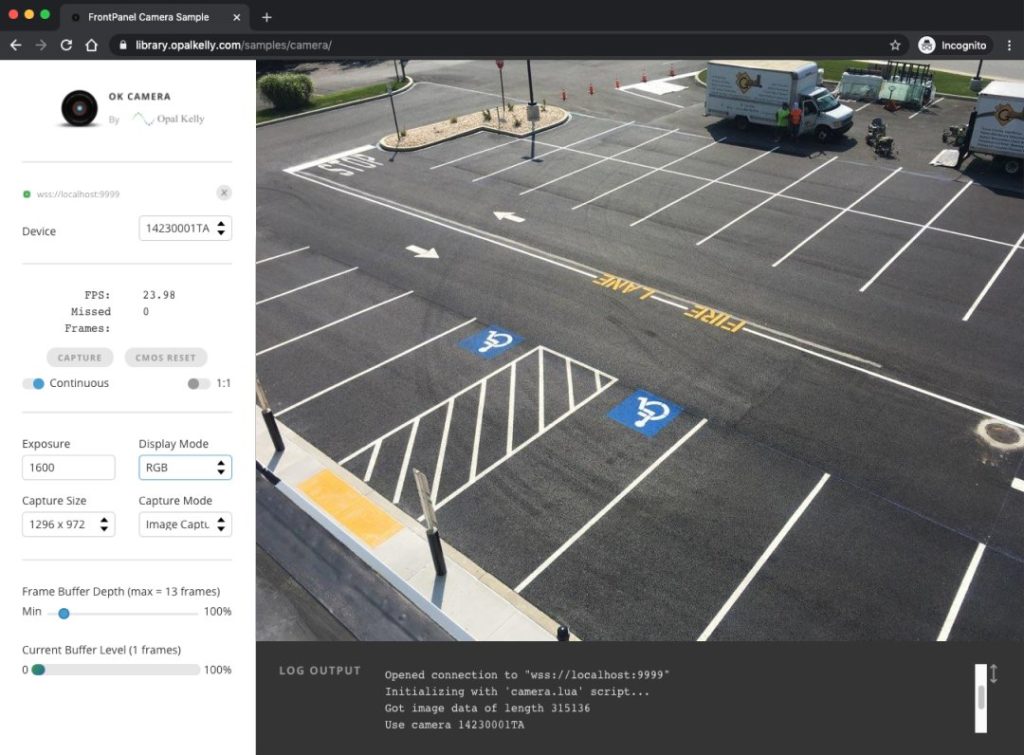
The JavaScript CameraApp application may also be loaded by connecting to https://library.opalkelly.com/samples/camera/. This is an Opal Kelly-hosted version.
Getting Started
Once only setup
Install the modules required by this package:
npm installEditor
Any text editor can be used, but Visual Studio Code is preferred.
Run the sample
- Prepare the bitfiles:
- Download all the pre-built bitfiles included in the Camera-ExampleDesign-vX.Y GitHub Releases.
- Create a
bitfilesdirectory at the same directory level asindex.html. - Place all the downloaded bitfiles into this
bitfilesdirectory. The application will look for the FPGA bitfiles in this directory.
- Run the localhost server: Start the sample using
Parcelby running the following command:npm start - Access the application: Open http://localhost:9889/ in your browser to view and interact with the application.
Debug
Run the localhost server using the previous run command and then
press F5 in VS-Code to start debugging.
Debugging the Typescript code in the browser also works fine
(e.g. F12 in Chrome).
Build
Standalone version that can be simply opened in a browser (i.e. without
running a HTML server) can be built with the command:
npm run build-htmlThen just open dist/index.html in a browser.
Note
If you run a local FPoIP server using self-signed certificate (e.g
wss://localhost:9999/) then you need to open the corresponding HTTPS
URL (e.g. https://localhost:9999/) in the same browser, in order to
accept the certificate, as you won’t have any possibility to do it
when connecting via WebSocket.