FrontPanel Application Development
In this tutorial you will use the FrontPanel Application template to create a project and build a simple FrontPanel application. The application uses Typescript, Webpack, and the React user interface development library.
Install Prerequisites
- Node.js – Download | Node.js (nodejs.org)
- Node Package Manager – Downloading and installing Node.js and npm | npm Docs (npmjs.com)
- Source Code Editor
- FrontPanel Application version 6.0.0 or greater
- FrontPanel Application Template – FrontPanel App Template
- Counters Sample bitfile for your device – Opal Kelly Pins
Setup the FrontPanel App Project
Download the application template project found in the Opal Kelly Design Resources repository under Software/Templates/frontpanel-app and copy the project folder to a local workspace directory. This template provides a quick way to get started.
Set the current working directory to the root of the project and install the project dependencies.
npm installBuild the FrontPanel App package. This command will produce a package and place it in an output directory.
npm run packConnect a USB cable from the PC to the OpalKelly XEM device and power on the device.
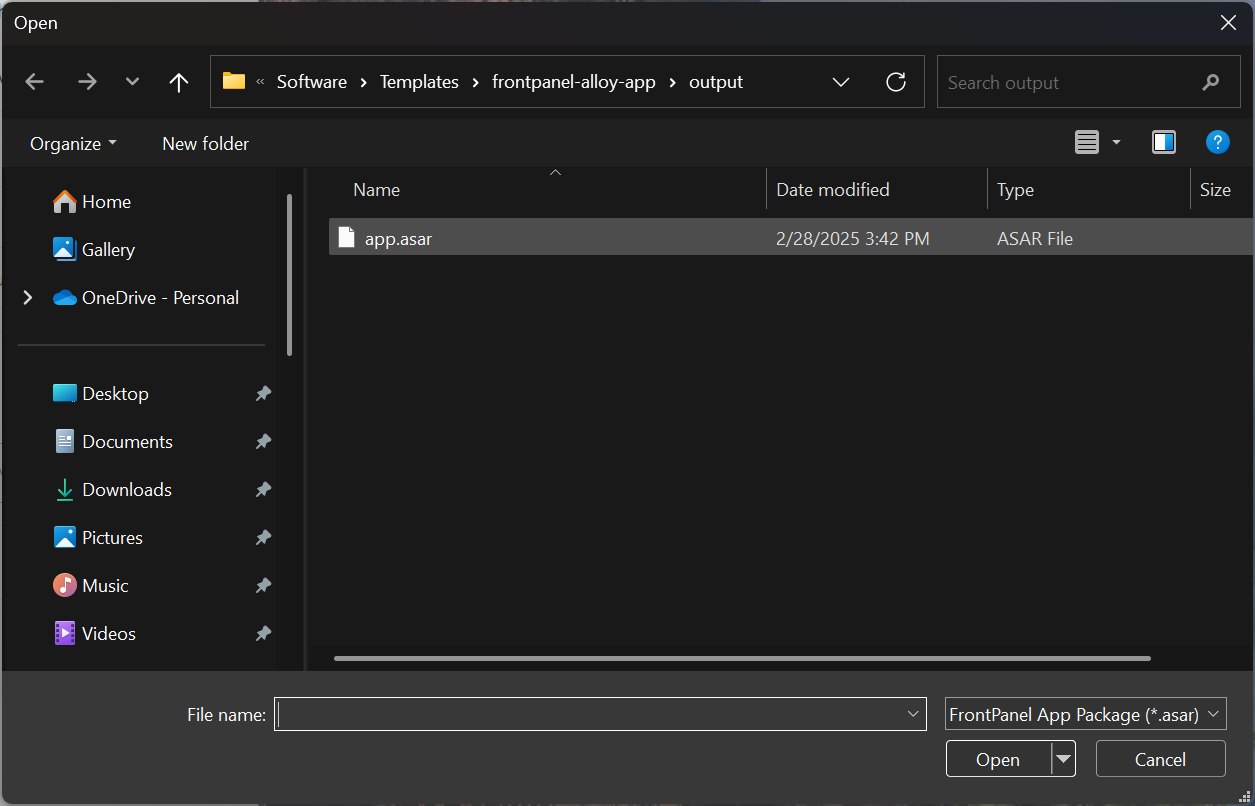
Launch the FrontPanel Platform application, and in the Open dialog navigate to the folder where the FrontPanel App package is generated and select the app.asar file.
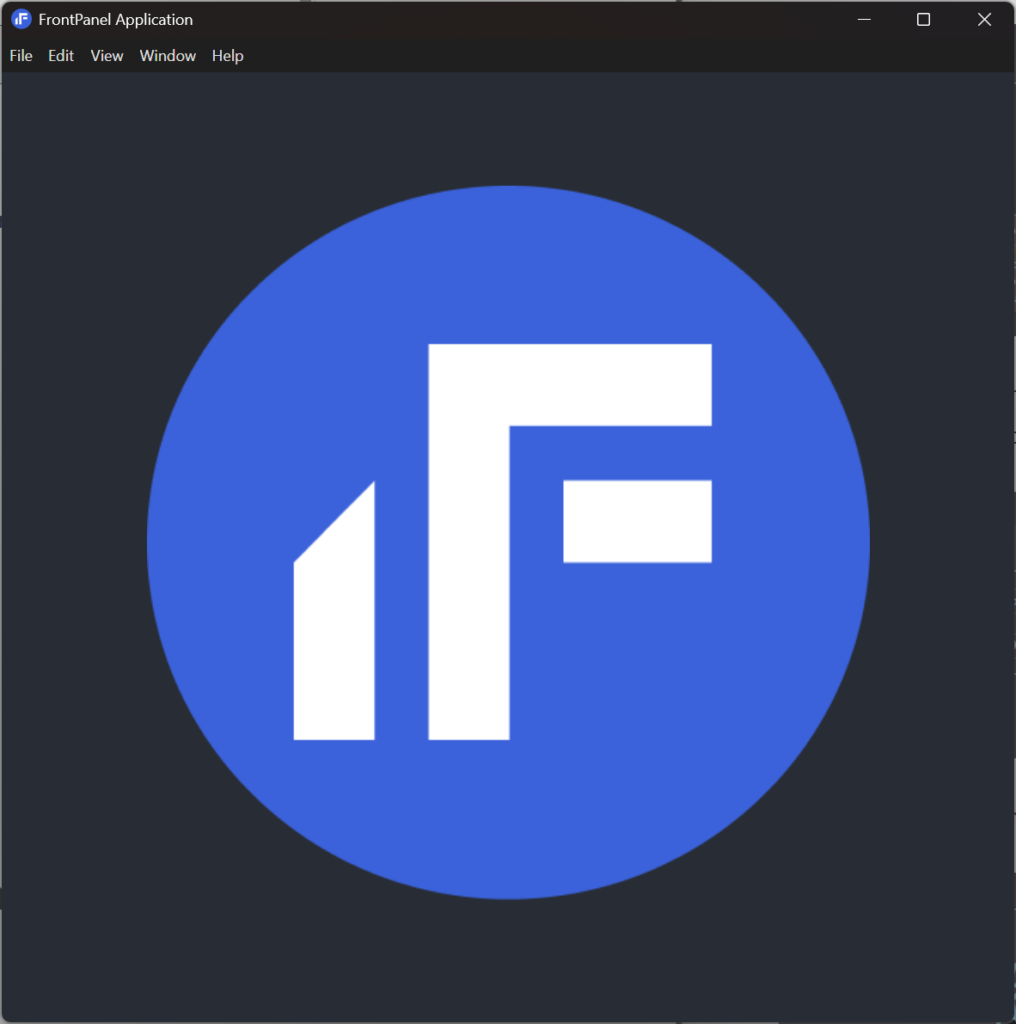
The application should load and display the FrontPanel Logo demonstrating that it was loaded successfully. This is a good checkpoint to ensure the project is configured correctly before moving on to the next steps.
Add FrontPanel UI Components
In the project folder, open the src/FrontPanel.tsx file in an code editor. This file defines a React component named FrontPanel that is the root component of the user interface for this design.
Locate the render() function definition for the FrontPanel component.
    render() {
        return (
            <FrontPanelContext
                device={this.props.frontpanel}
                workQueue={this.props.workQueue}>
                <div className="ControlPanel">{/* TODO: Add your FrontPanel controls here */}</div>
            </FrontPanelContext>
        );
    }Code language: JavaScript (javascript)
Add a FrontPanelNumberDisplay component that will be connected to a FrontPanel WireOut Endpoint and a FrontPanelPushButton that will be connected to a WireIn Endpoint. In order to use these components they will need to be imported from the @opalkelly/frontpanel-react-components library.
import {
    FrontPanel as FrontPanelContext,
    FrontPanelNumberDisplay,
    FrontPanelPushButton,
    NumeralSystem
 } from "@opalkelly/frontpanel-react-components";Code language: JavaScript (javascript)
render() {
return (
<FrontPanelContext
device={this.props.frontpanel}
workQueue={this.props.workQueue}>
<div className="ControlPanel">
<FrontPanelNumberDisplay
label={{text: "Counter #1", horizontalPosition: "right", verticalPosition: "top"}}
tooltip="Counter #1"
fpEndpoint={
{epAddress: 0x20,bitOffset: 0}
}
maximumValue={BigInt(0xff)}
numeralSystem={NumeralSystem.Decimal}
/>
<FrontPanelPushButton
label="Reset"
tooltip="Reset Counter #1"
fpEndpoint={
{epAddress: 0x00, bitOffset: 0}
}
/>
</div>
</FrontPanelContext>
);
}Code language: JavaScript (javascript)Add Periodic Update Timer
Add a FrontPanelPeriodicUpdateTimer to the FrontPanelState interface. This timer will periodically retrieve the state of all FrontPanel WireOut Endpoints.
import {
    IFrontPanel,
    FrontPanelPeriodicUpdateTimer,
    WorkQueue
} from "@opalkelly/frontpanel-platform-api";Code language: JavaScript (javascript)
export interface FrontPanelState {
updateTimer: FrontPanelPeriodicUpdateTimer;
}Code language: CSS (css)Initialize the update timer in the constructor of the FrontPanel component.
class FrontPanel extends Component<FrontPanelProps, FrontPanelState> {
    constructor(props: FrontPanelProps) {
        super(props);

        this.state = {
            updateTimer: new FrontPanelPeriodicUpdateTimer(this.props.frontpanel, 10)
        };
    }Code language: JavaScript (javascript)
Set the FrontPanelContext to use the update timer as the event source that triggers the child components to update the data they display.
    render() {
        return (
            <FrontPanelContext
                device={this.props.frontpanel}
                workQueue={this.props.workQueue}
                eventSource={this.state.updateTimer}>Code language: JavaScript (javascript)
Set the FrontPanel component to start the timer when it is mounted and stop the timer when it is unmounted.
    // Component Lifecycle Methods
    componentDidMount() {
        this.state.updateTimer.start();
    }

    componentWillUnmount() {
        this.state.updateTimer.stop();
    }Code language: JavaScript (javascript)
Add the Counters Example Bitfile
Locate the counters.bit that is compatible with the Opal Kelly XEM device that will be connected to the PC and copy or move it to the assets folder at the root of the application project.
Open the src/index.tsx file using the code editor and add an import statement that specifies the location of the counters.bit file relative to the source file.
import "../assets/counters.bit";Code language: JavaScript (javascript)This import statement tells the Webpack bundler to include this file in the application bundle it generates.
Open the App.tsx file using the code editor and set the configurationFilename parameter passed to the initializeDevice() function to counters.bit.
function App() {
    const [frontpanel, setFrontPanel] = React.useState<IFrontPanel>();

    React.useEffect(() => {
        let device: IDevice;

        DeviceWorkQueue.post(async () => {
            try {
                device = await initializeDevice("", "counters.bit");

                const frontpanel = await device.getFPGA().getFrontPanel();

                setFrontPanel(frontpanel);
            }
            catch (error) {
                device?.close();
                console.error(error);
            }
        });Code language: JavaScript (javascript)
Build and Run the Application
npm run packConnect a USB cable from the PC to the OpalKelly XEM device and power on the device.
Launch the FrontPanel Platform application, and in the Open dialog navigate to the folder where the FrontPanel App package is generated and select the app.asar file.
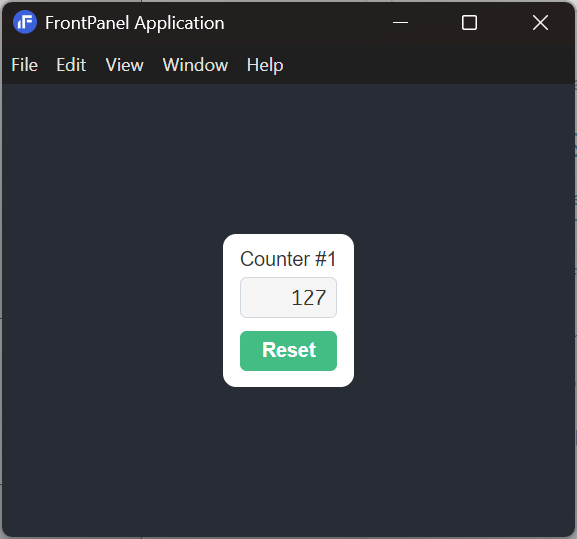
The application should run and the current value of Counter #1 should display. Clicking the Reset button should result in restarting the counter at the value zero.