Application Development
In this tutorial you will setup a development environment and build a simple FrontPanel Alloy application. The application is created using Typescript and the React user interface development library.
Install Prerequisites
- Node.js – Download | Node.js (nodejs.org)
- Node Package Manager – Downloading and installing Node.js and npm | npm Docs (npmjs.com)
- Source Code Editor
- FrontPanel Application version 6.0.0 or greater
- Counters Sample bitfile for your device – Opal Kelly Pins
Create the React Application
Create a workspace directory and set it to be the current directory.
mkdir Workspace
cd Workspace
Create a React application in the workspace directory using the Typescript template.
npx create-react-app sample-reactapp --template typescriptThis command should create a new project directory named ‘sample-reactapp’.
Set the current directory to ‘sample-reactapp’ and build the template React application.
cd sample-reactapp
npm run build
Open the FrontPanel Application and connect an XEM device.
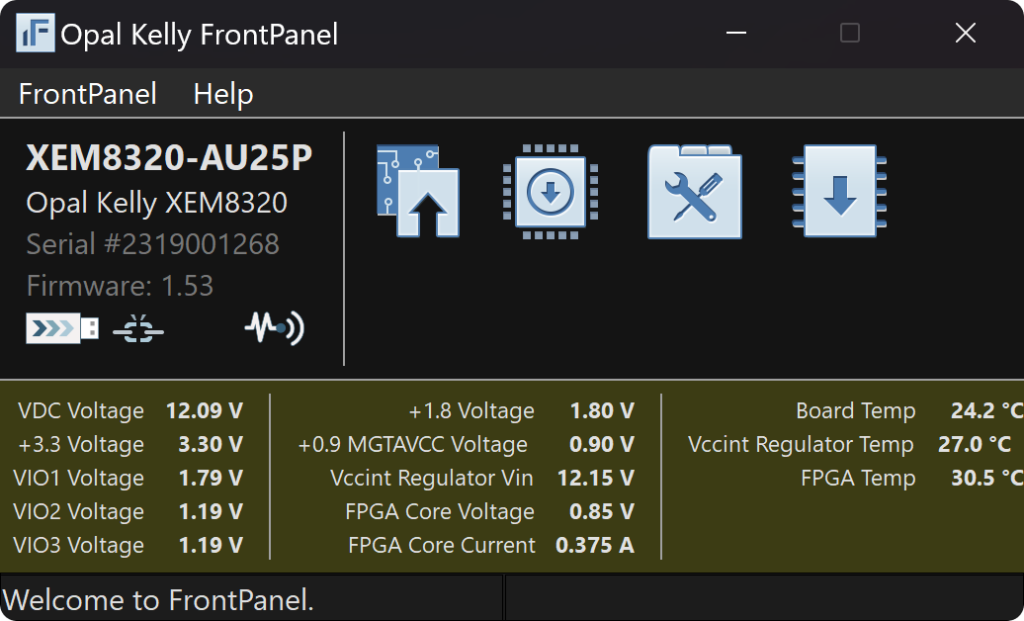
Click the ‘Load a FrontPanel Profile’ button and in the Open Application dialog, set the path to the application ‘index.hml’ file generated by the build tools.
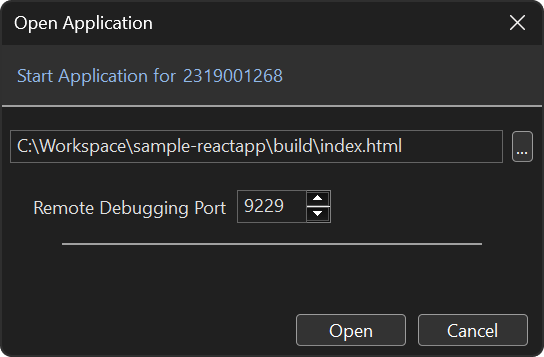
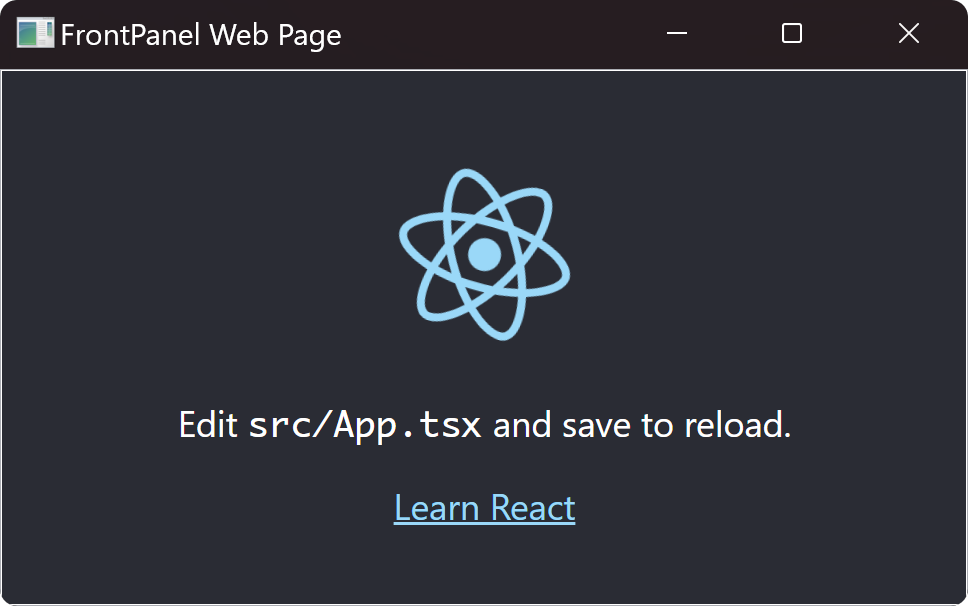
Click the ‘Open’ button and verify that the React template application loads correctly.
Install the FrontPanel Alloy React components package
npm install @opalkelly/frontpanel-react-componentsCode language: CSS (css)This step will update the package.json file in your project to add a dependency to the latest version of the FrontPanel React components package. It will also download and install the contents of the package to allow importing the modules provided by the library.
Add the FrontPanel React Component
Add a new file named FrontPanel.tsx to the src directory and add the following:
import React, { Component } from "react";

import {
    IFrontPanel,
    FrontPanelPeriodicUpdateTimer
} from "@opalkelly/frontpanel-alloy-core";

import {
    FrontPanel as FrontPanelContext,
    EndpointAddressProps,
    FrontPanelPushButton,
    FrontPanelNumberDisplay,
    NumeralSystem
} from "@opalkelly/frontpanel-react-components";

import "./FrontPanel.css";

export interface FrontPanelProps {
    name: string;
}

export interface FrontPanelState {
    device: IFrontPanel;
    updateTimer: FrontPanelPeriodicUpdateTimer;
}

class FrontPanel extends Component<FrontPanelProps, FrontPanelState> {

    private readonly _Counter1: EndpointAddressProps = {epAddress: 0x20, bitOffset: 0};
    private readonly _Counter1Reset: EndpointAddressProps = {epAddress: 0x00, bitOffset: 0};

    constructor(props: FrontPanelProps) {
        super(props);

        this.state = {
            device: window.FrontPanel,
            updateTimer: new FrontPanelPeriodicUpdateTimer(window.FrontPanel, 10)
        };
    }

    componentDidMount() {
        this.state.updateTimer.Start();
    }

    componentWillUnmount() {
        this.state.updateTimer.Stop();
    }

    render() {
        return (
            <FrontPanelContext device={this.state.device} eventSource={this.state.updateTimer}>
                <div className="ControlPanel">
                    <FrontPanelNumberDisplay
                        label={{text: "Counter #1", horizontalPosition: "right", verticalPosition: "top"}}
                        tooltip="Counter #1"
                        fpEndpoint={this._Counter1}
                        maximumValue={BigInt(0xff)}
                        numeralSystem={NumeralSystem.Decimal}
                        />
                    <FrontPanelPushButton
                        label="Reset"
                        tooltip="Reset Counter #1"
                        fpEndpoint={this._Counter1Reset}
                        />
                </div>
            </FrontPanelContext>
        );
    }
}

export default FrontPanel
Code language: JavaScript (javascript)
This defines a React Component named FrontPanel whose state contains an instance of an IFrontPanel interface and an instance of a FrontPanel periodic update timer. It also defines two wire endpoints and binds one to a NumberDisplay and the other to a Pushbutton. The update timer instance is used to start and stop a loop that periodically updates WireOut and TriggerOut endpoints.
Add the Style Sheet
Add a new file named FrontPanel.css to the src directory and add the following:
.ControlPanel {
    display: flex;
    flex-direction: column;
    background-color: white;
    border-radius: 8px;
    padding: 10px;
    gap: 8px;
    margin: 10px;
  }Code language: CSS (css)
This defines the style to apply to the <div> element that contains the NumberDisplay and the PushButton components. It specifies that the components lay out in a column with some space around them.
Update the App Component
Open the App.tsx file and edit it to look like the following:
import React from "react";

import "./App.css";

import FrontPanel from "./FrontPanel";

import { Application } from "@opalkelly/frontpanel-react-components";

function App() {
    return (
        <div className="App">
            <Application>
                <FrontPanel name="Sample" />
            </Application>
        </div>
    );
}

export default App;Code language: JavaScript (javascript)
This will cause the application to display the FrontPanel component that was created in the previous steps.
Open the App.css file and edit it to look like the following:
.App {
  text-align: center;
  background-color: #282c34;
  min-height: 100vh;
  display: flex;
  flex-direction: column;
  align-items: center;
  justify-content: center;
  color: white;
}Code language: CSS (css)
Build the Application
Run the following command in the terminal:
npm run buildRun the Application
Using the FrontPanel application with an XEM device connected via USB, load the ‘counters.bit’ file and then load the ‘FrontPanel Profile’ as was done in previous steps.
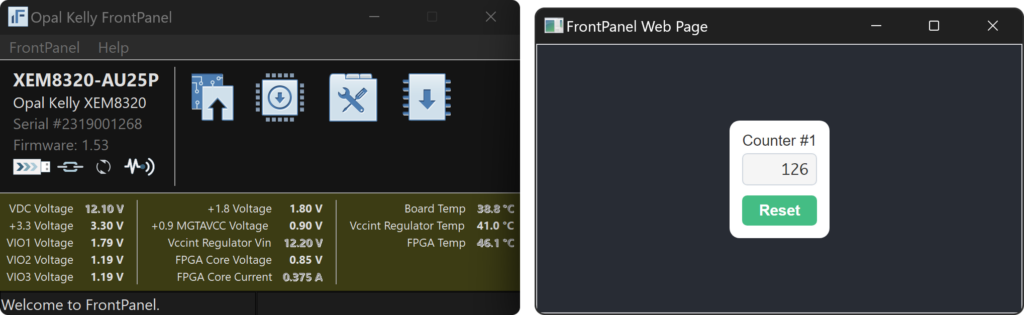
The application should run and the current value of counter #1 should display. Clicking the Reset button should result in restarting the counter at the value zero.