XEM8370
FanSink
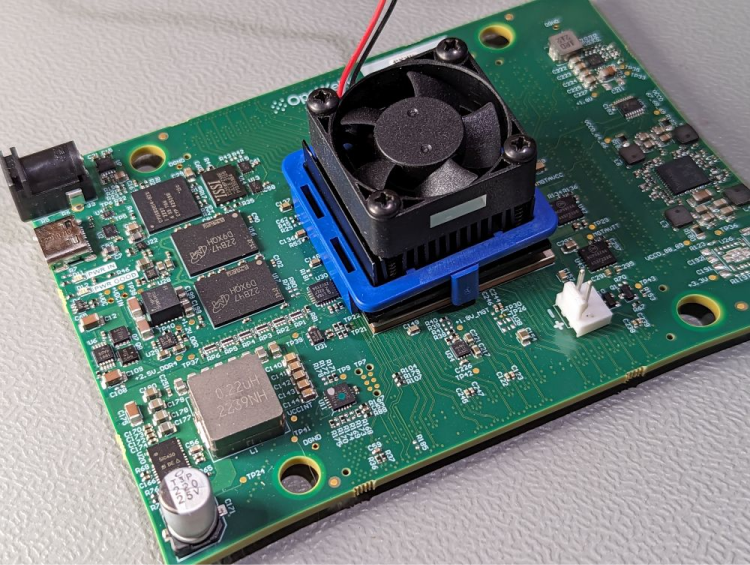
An active (fan-based) heatsink is available as an add on to install on the FPGA for cooling. The fan enable and temperature threshold can be controlled over the FrontPanel API. See the Device Settings documentation for more information.
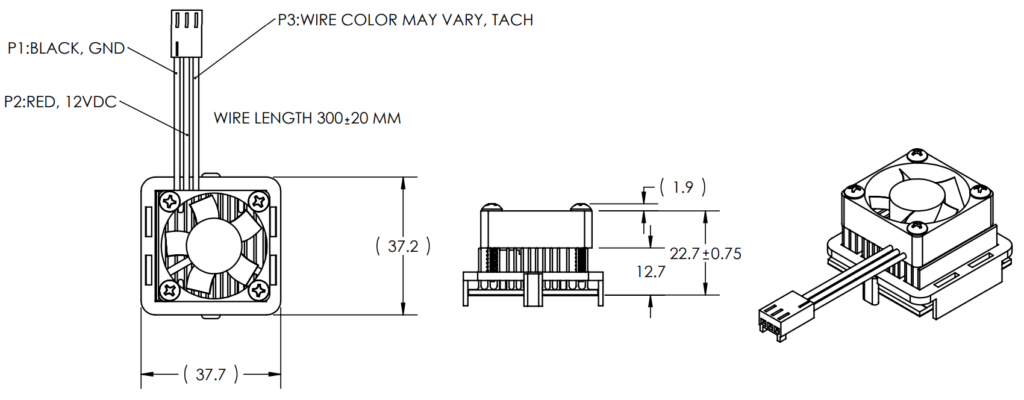
The fansink is Radian part number FA35+K52B+T725
FanSink Installation
Place FanSink ONLY in this orientation.
The long edges of the FanSink plastic clip have hooks that will clip on under the FPGA
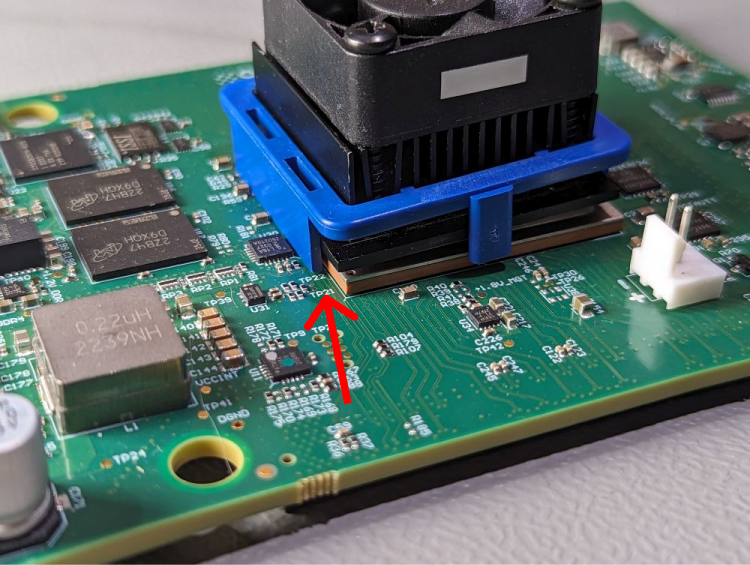
Lower indicated edge and clip onto FPGA
Check clearance and be careful to avoid the nearby components
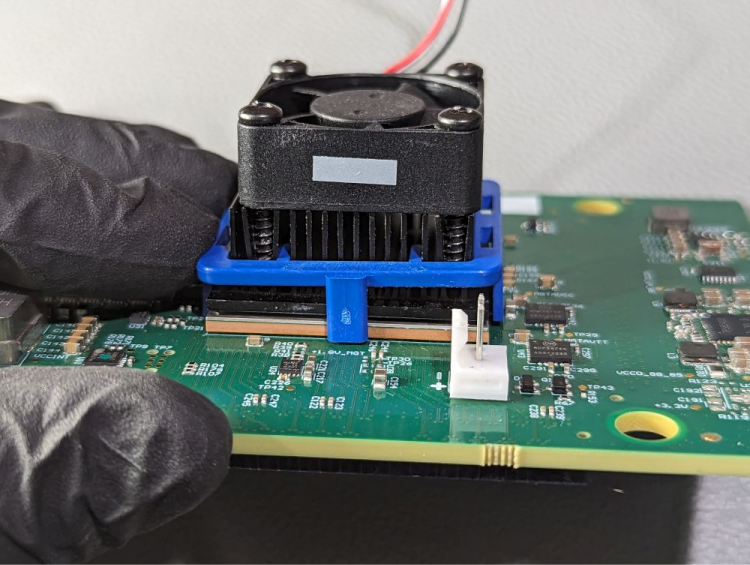
Gently press on the hooked side of the plastic clip to push the opposite clip over the opposite top edge of the FPGA
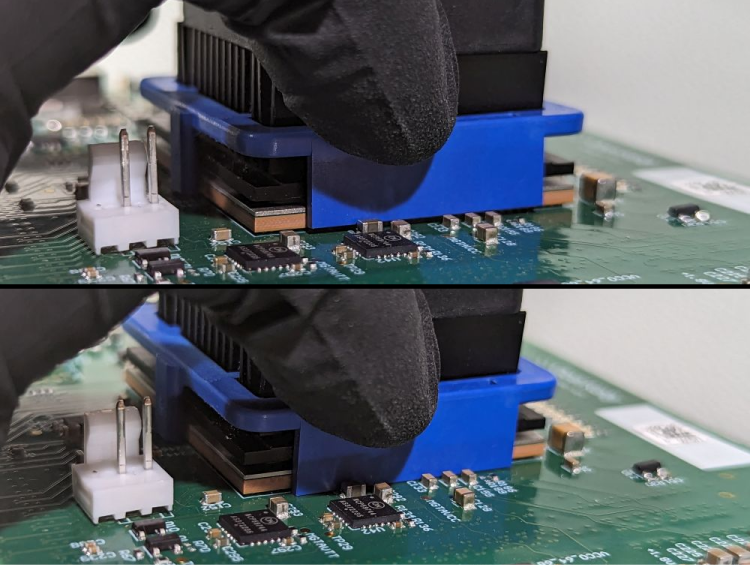
With the clip is over the top edge of the FPGA gently press down to secure the clip under the FPGA. Only minimal force is required.
Check clearance and be careful to avoid the nearby components
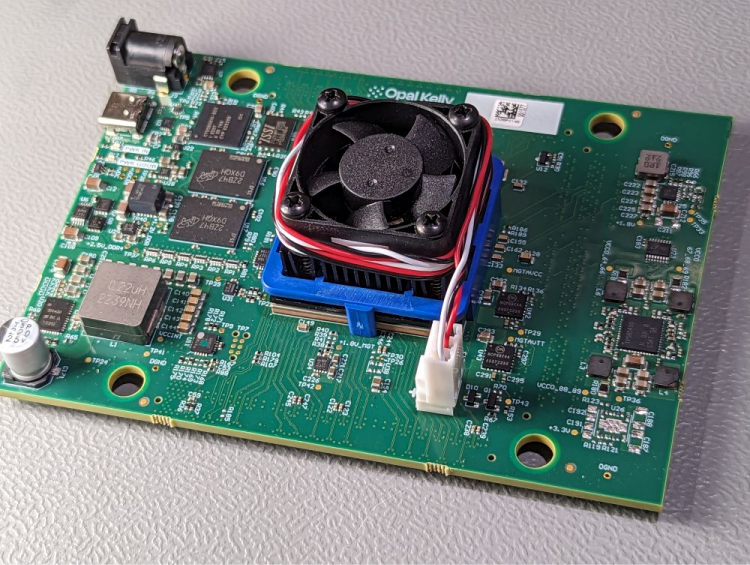
Wrap the fan power cord around the fan and connect it to the XEM8370 fan header